Multi-option groups
Some catalogs need more than a single row of swatches. A t-shirt comes in different styles and different colors. If you’ve wanted to show two or three rows of swatches on the same product page and have them filter each other, that’s what multi-option groups are for.
A regular Product Group handles one option. Multi-option groups handle up to three in a single group, with each row filtering the next so customers only see combinations you actually sell.
When to use it
Section titled “When to use it”Reach for multi-option groups when:
- Each combination is its own Shopify product (e.g. a separate listing for “Straight Black”, “Straight White”, “V-neck Black”, “V-neck White”).
- You want shoppers to navigate between those products through two or three sets of visual swatches stacked on the page, one row per option.
If your styles and colors are variants of the same product, Variant Swatches is the better fit. Multi-option groups are specifically for stores where each combination is a separate product.
How it looks on the storefront
Section titled “How it looks on the storefront”Imagine a multi-option group with Style and Color. On the product page, you’ll see two rows of swatches:
- Style - one swatch per unique style across the whole group
- Color - only the colors that actually exist for the style the shopper is viewing
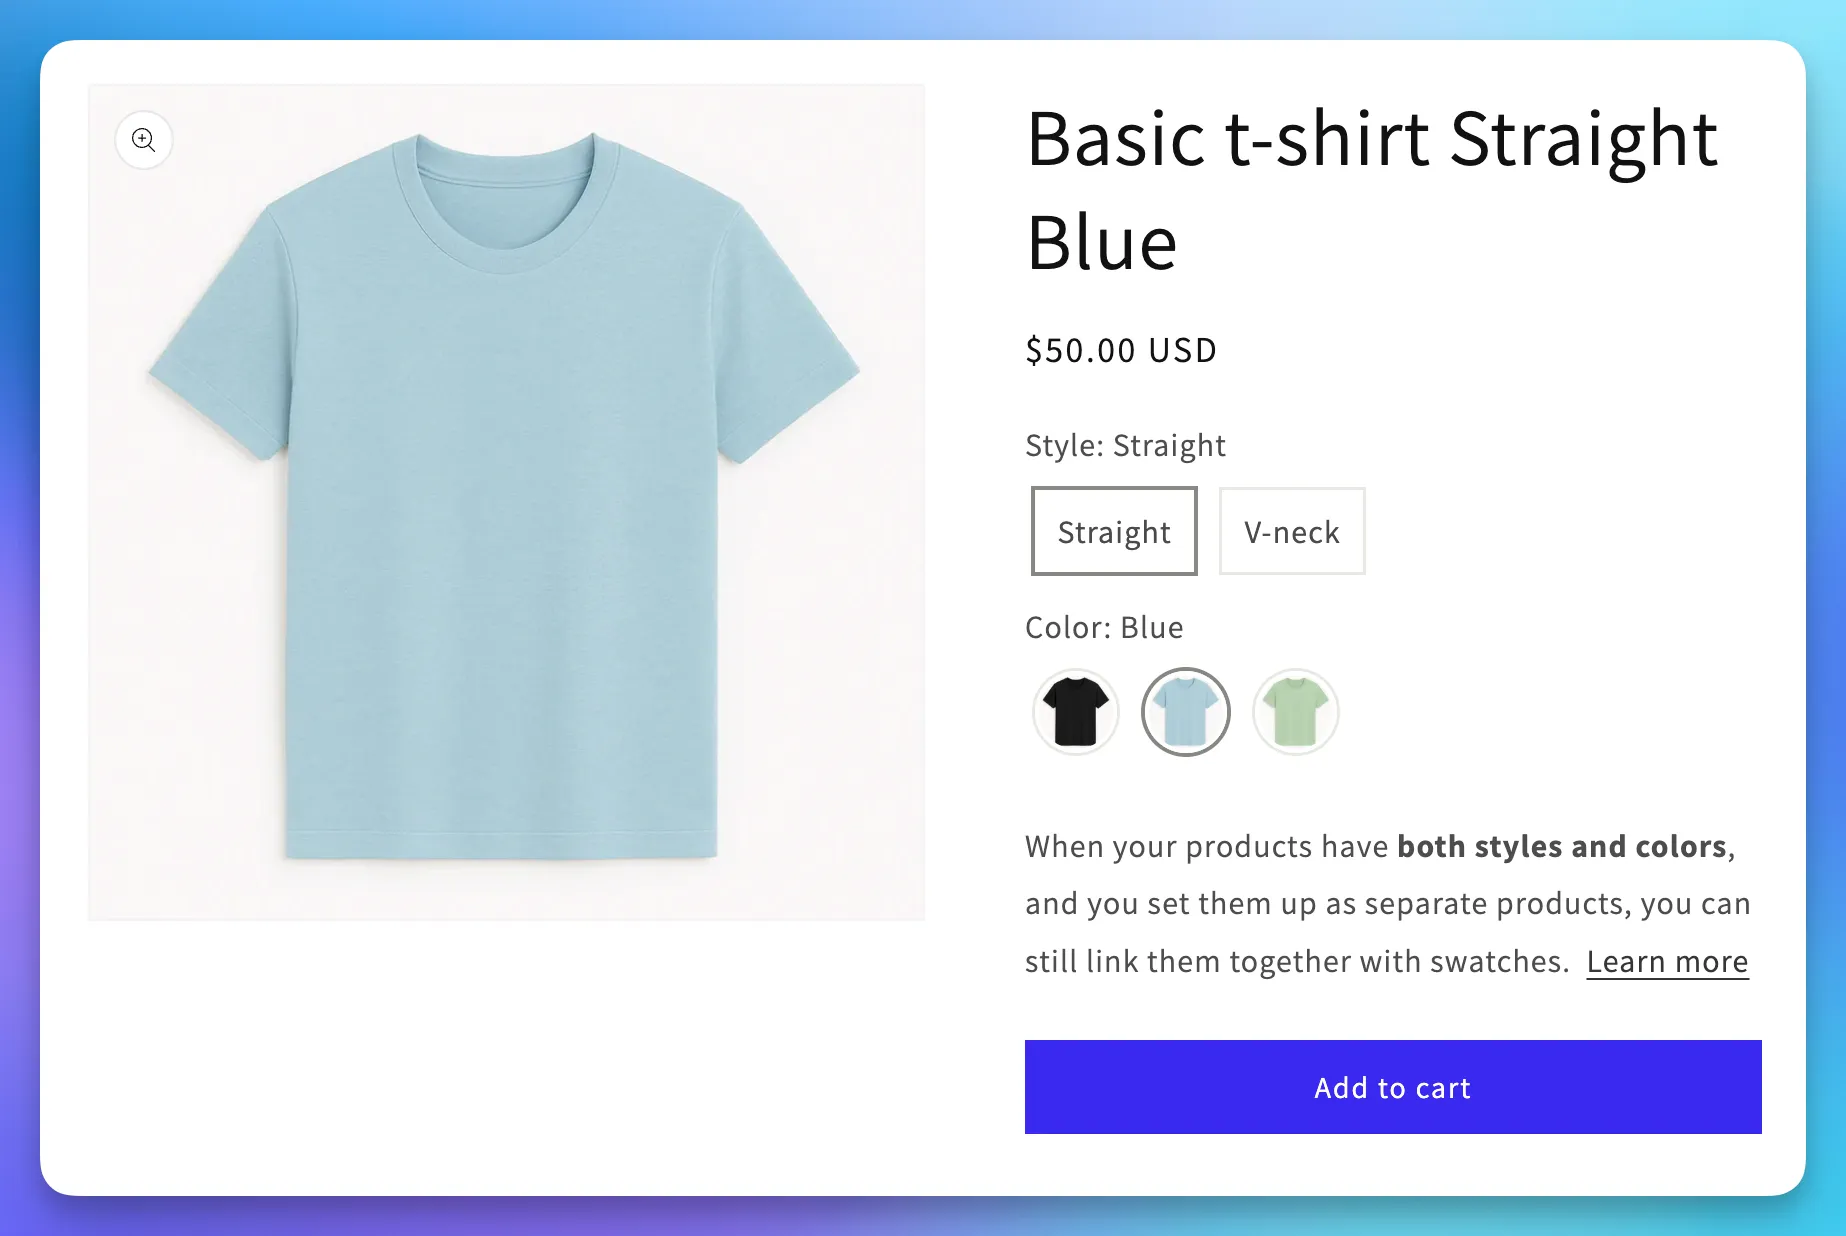
The app handles all of that filtering for you automatically: each row only shows values that have a real product behind them, given everything chosen so far.
When a shopper clicks a swatch, we land them on the closest matching product. So if a shopper viewing Straight / Blue clicks V-neck, they land on V-neck / Blue if it exists.
If the exact combination doesn’t exist, the app falls back to the product that matches as many of the other slots as possible (so V-neck / Red if Red is the only color available for V-neck).
For three-option groups, the same chaining applies on the product page: slot 2 is filtered by slot 1, and slot 3 is filtered by slots 1 and 2.
Setting up manually
Section titled “Setting up manually”Let’s walk through it together:
-
Head to Groups > Create group in the app.
-
Fill in the group title and the first Option name (e.g.
Style). -
Click + Add option to add a second slot. Give it a name (e.g.
Color). You can click + Add option once more for a third.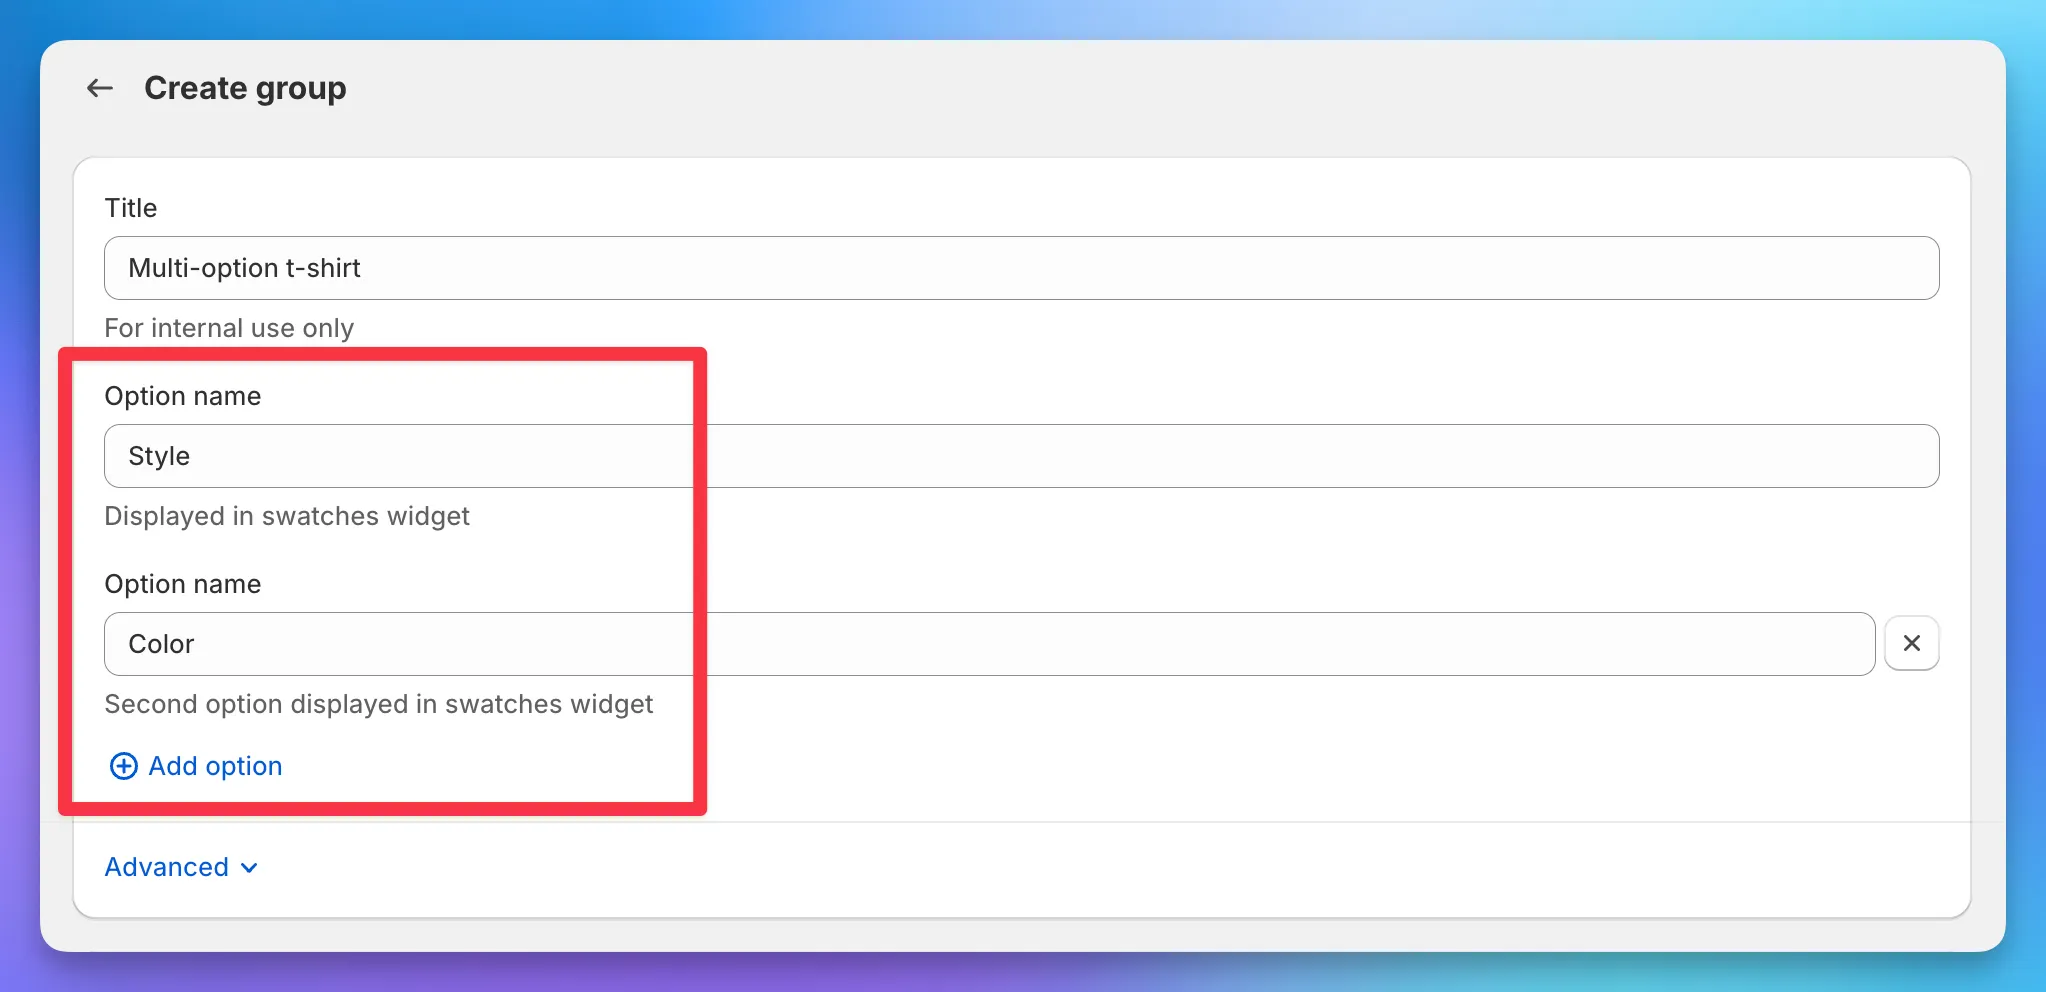
-
Add your products. For each one, fill in a swatch for every option slot, so a single product gets both a Style swatch and a Color swatch.
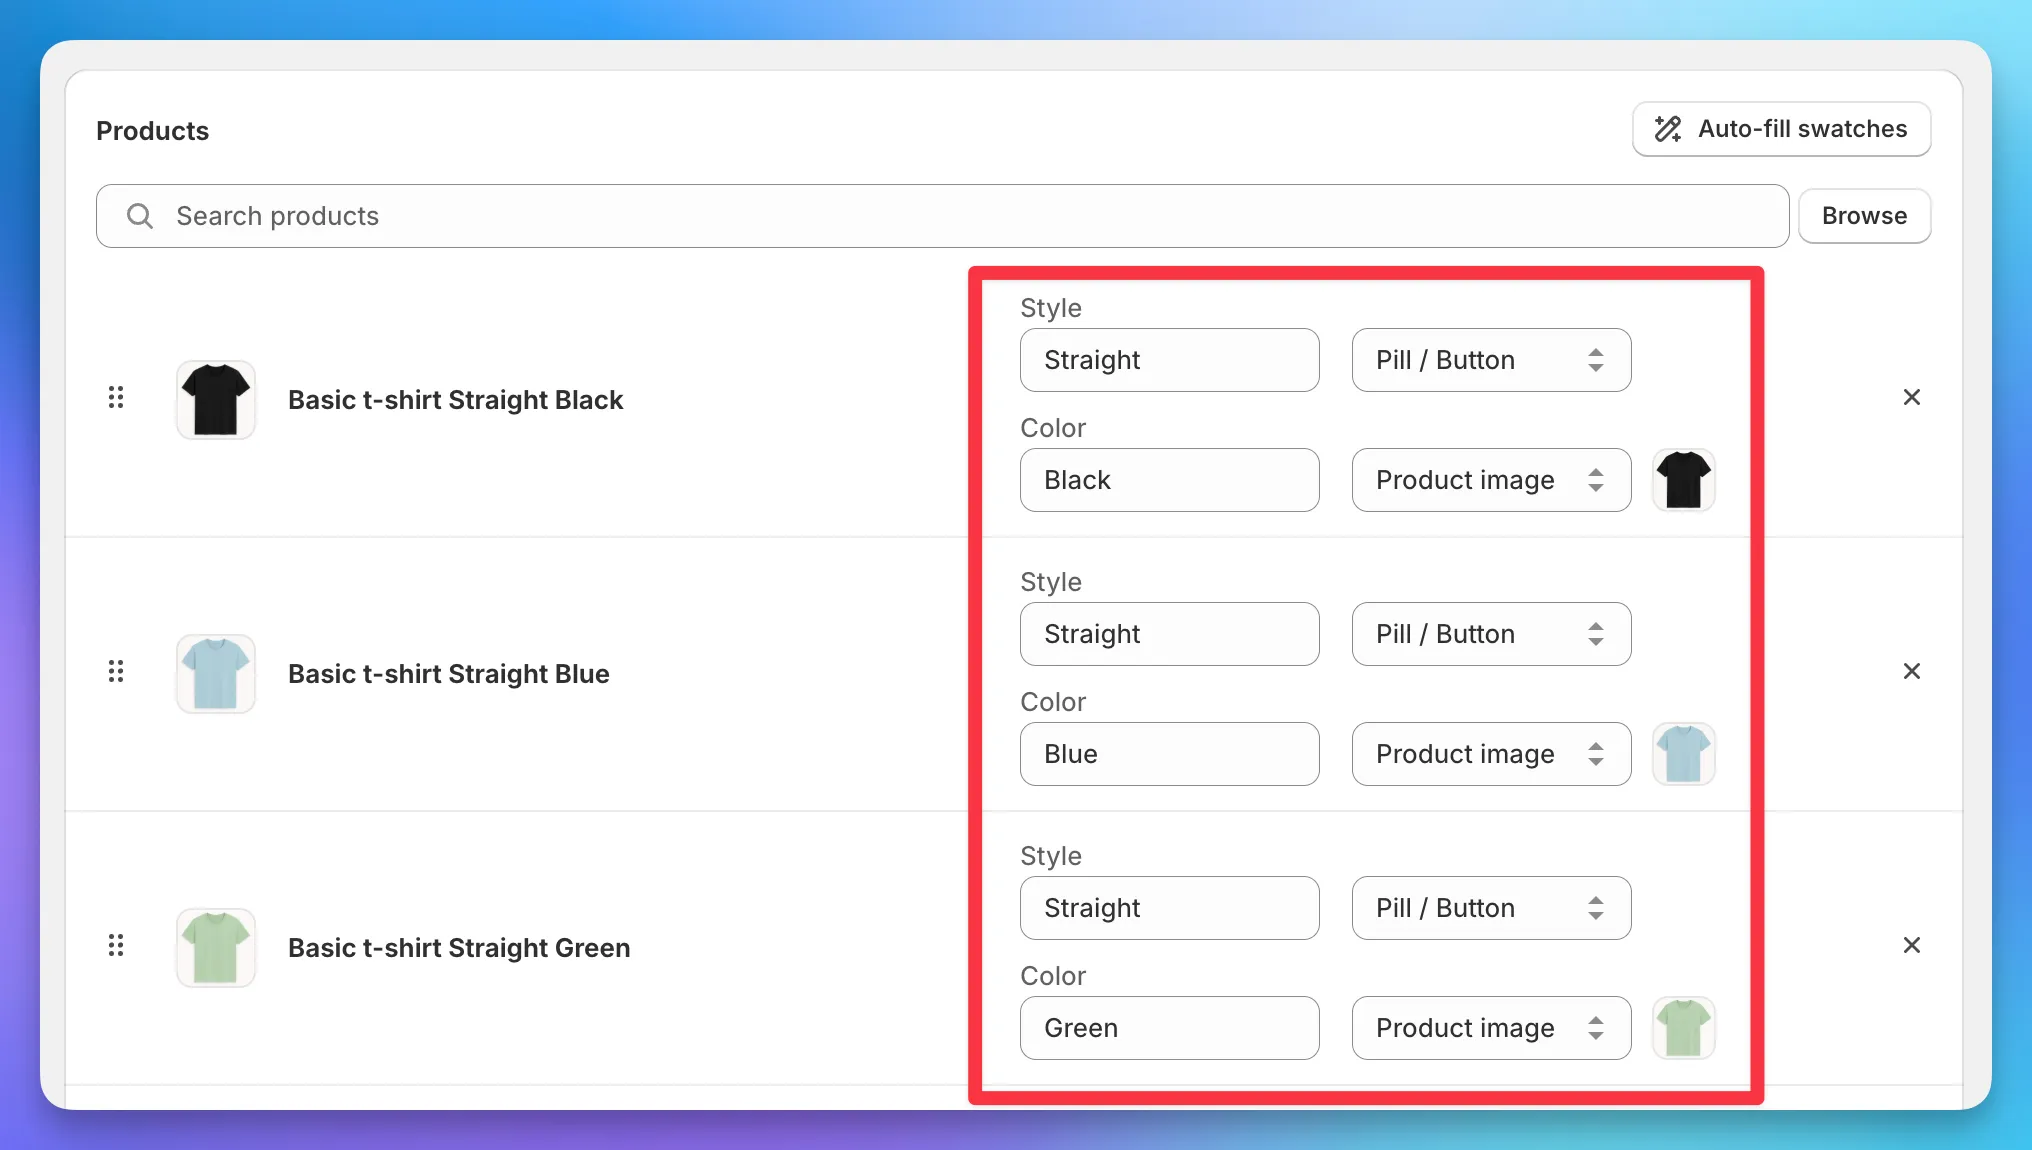
-
Save.
That’s it. Your storefront will catch up within a few minutes.
Automating multi-option groups
Section titled “Automating multi-option groups”Available on the Advanced plan or higher.
The same automations that create regular Product Groups can create multi-option groups too. Each slot is configured independently, so you have room to mix and match:
-
Open or create a Collection or Metafield automation.
-
Set up Option 1 the way you normally would - name, swatch type, swatch name metafield, position metafield.
-
Click + Add option at the top of the form for Option 2, and again for Option 3 if you need it. Each slot gets its own swatch type and its own metafield definitions.
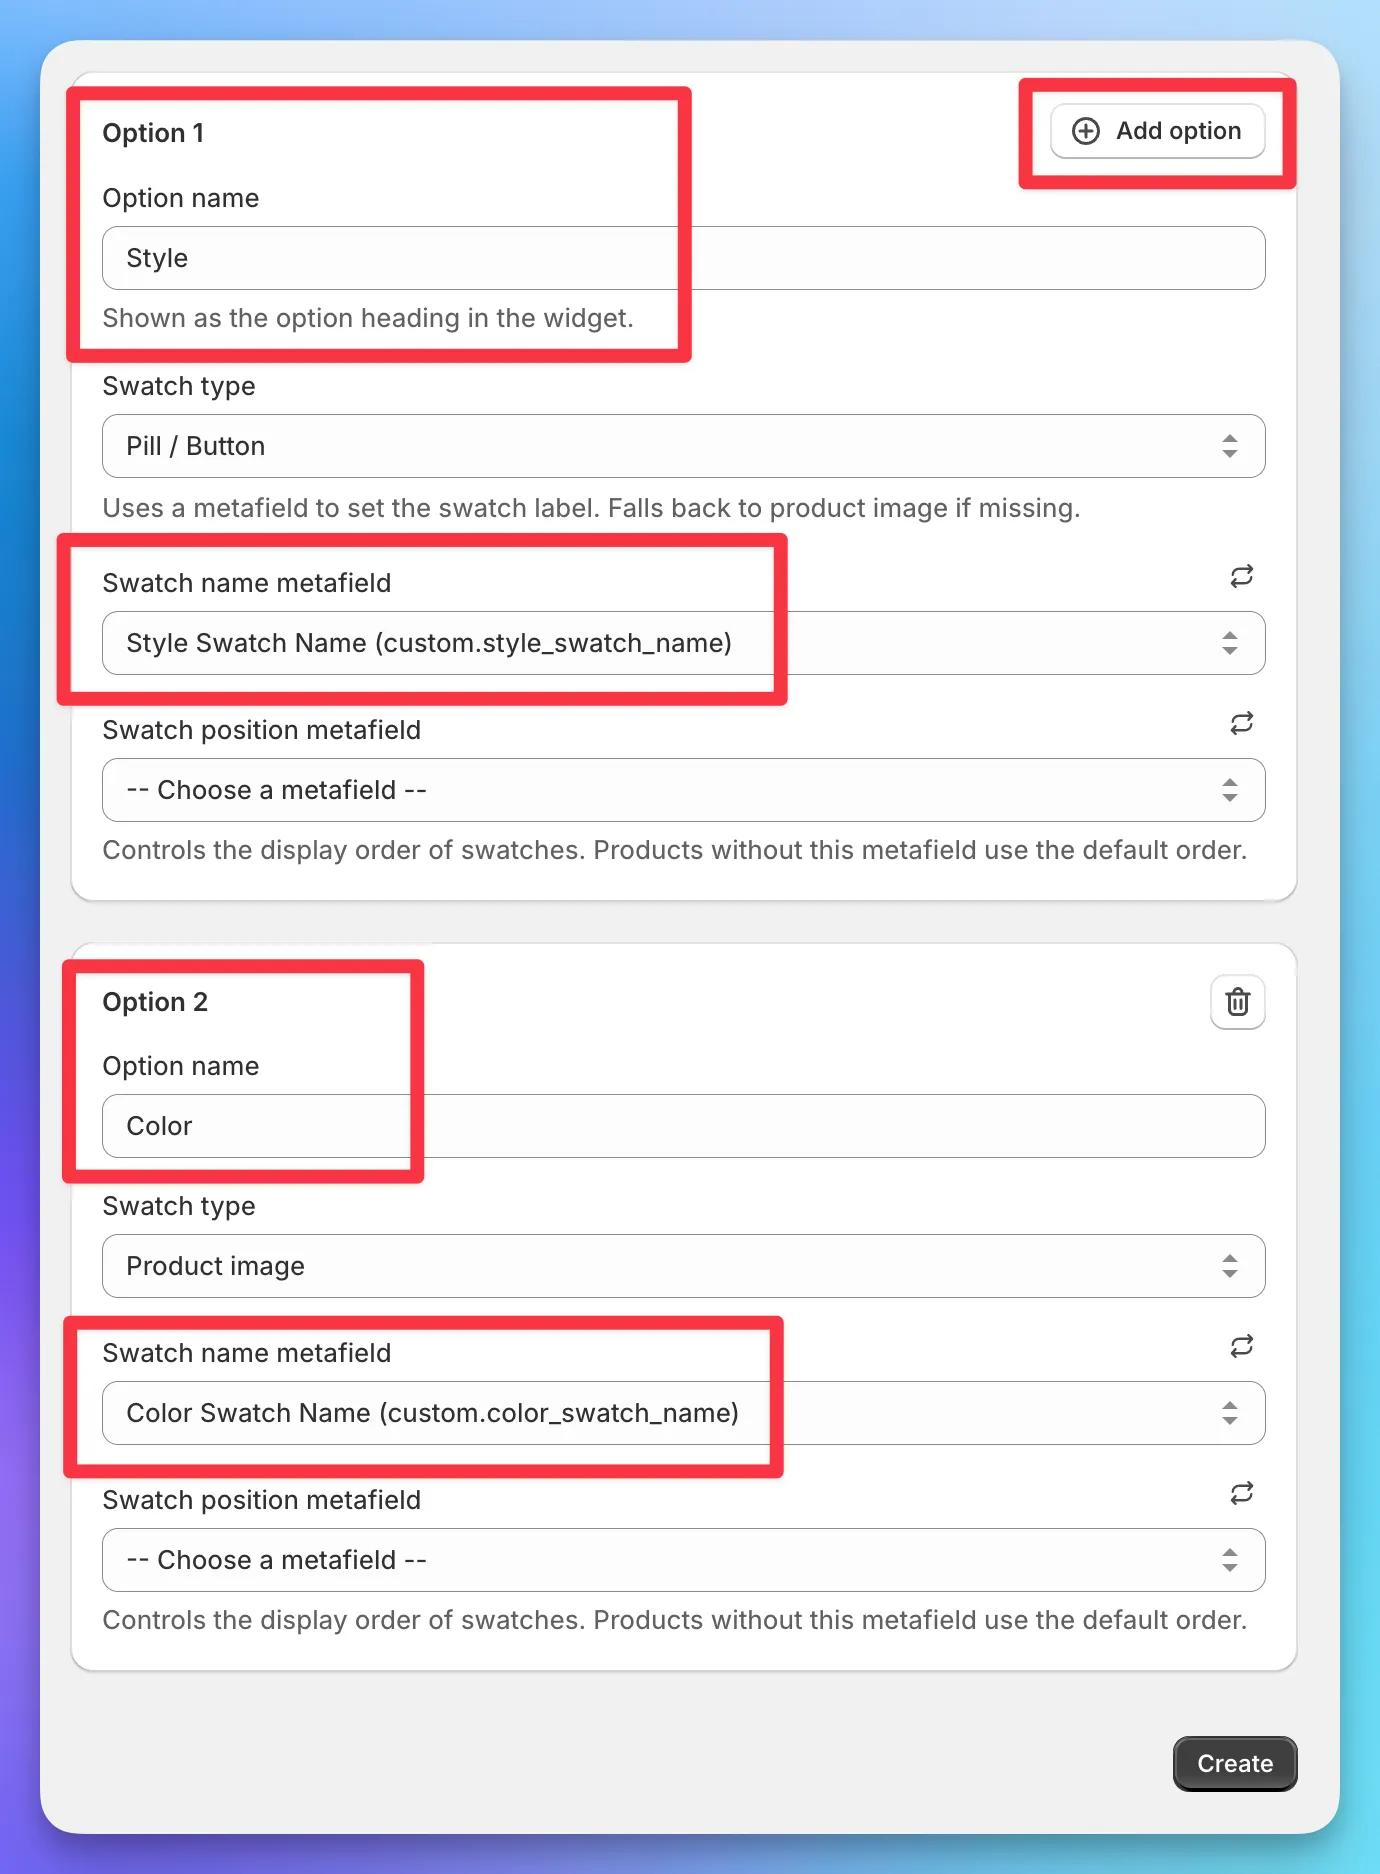
Here’s what happens when the automation runs:
- Slot 1 uses the existing swatch name metafield (e.g.
custom.style_swatch_name). - Slots 2 and 3 each pull from their own metafields (e.g.
custom.color_swatch_name,custom.size_swatch_name). - If a product is missing a metafield for slot 2 or 3, we keep the product in the group but quietly skip that slot for it. The other slots still render as expected.
When you set up the automation, every slot needs a swatch name metafield defined - even for auto swatch types - so we know which metafield to read each value from.
Hiding rows with only one swatch
Section titled “Hiding rows with only one swatch”If you have Hide groups with only 1 swatch turned on (Settings > General > Rules), it applies per row in a multi-option group. So if a customer is viewing a Straight product and Straight only comes in Blue, the Color row gets hidden for that product, while the Style row still renders. Other products in the same group (with multiple colors available) keep showing both rows.
This works on a per-product basis. The same group can show one row on one product and two rows on another, depending on what’s actually available for each.
What about the old linked-groups workaround?
Section titled “What about the old linked-groups workaround?”Before multi-option groups, the workaround for products split by more than one attribute was to create separate Product Groups (one for each option) and use linked groups to stack them on the same product page. That setup still works, and existing stores don’t need to change anything. Multi-option groups are the cleaner replacement - one group, smart filtering built in - so reach for them on new setups when you can.
Troubleshooting
Section titled “Troubleshooting”A few things we see come up.
A product won’t save with “name can’t be blank for multi-option groups”
Section titled “A product won’t save with “name can’t be blank for multi-option groups””Every slot needs a swatch name. Fill in the missing one and you’re good to go.
A row isn’t showing up on the storefront
Section titled “A row isn’t showing up on the storefront”Worth checking that the products in the group all have a swatch name on that slot. If every product is missing slot 2, the row has nothing to render. For automated groups, double-check that the metafield for that slot is filled in on at least one product.
My swatches show up but don’t filter each other
Section titled “My swatches show up but don’t filter each other”Make sure all your products are in a single multi-option group, not split across two regular Product Groups. Filtering only happens within one multi-option group.
The wrong product appears when I click a swatch
Section titled “The wrong product appears when I click a swatch”The app picks the best match given the customer’s other selections. If the exact combination doesn’t exist (e.g. you don’t have a V-neck / Red product), it lands on the closest one. Add the missing combination as a product and the swatches will start landing where you’d expect.