
Using sales
Sales set temporary discounted prices. Unlike tasks, sales run on a schedule: the app applies the discount at the start time and restores original prices when the sale ends. No spreadsheets on launch night, no forgotten prices afterwards.
Here’s the whole flow in two minutes:
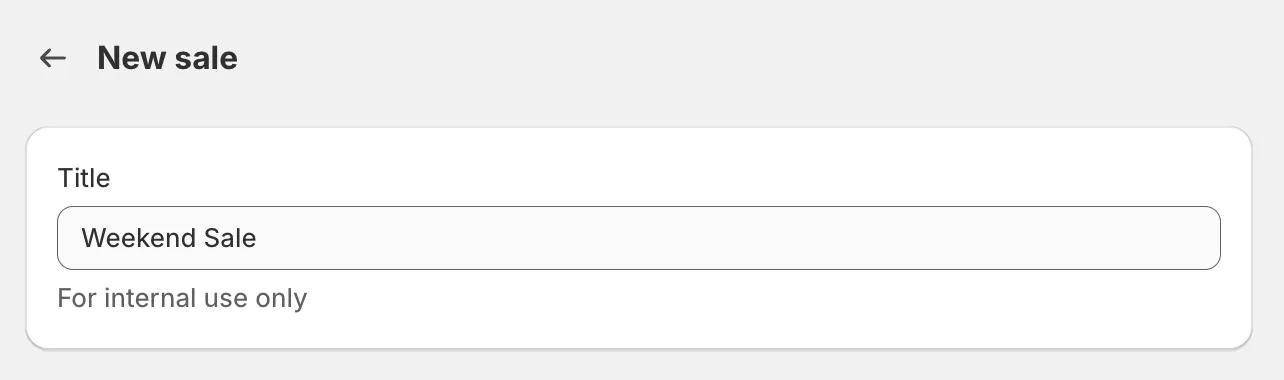
The title is for your own reference - customers never see it. Something like Black Friday 2026 - 30% off keeps the sales list readable.
Change type
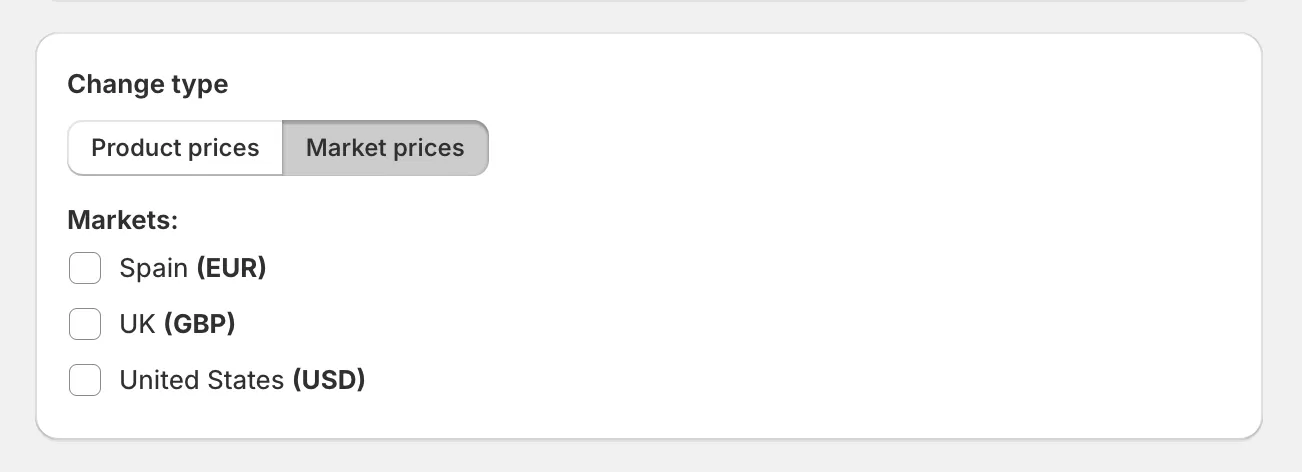
Section titled “Change type”Two options:
- Product prices - the sale applies across your store.
- Market prices - the sale applies only to selected Shopify Markets (Premium plan). Markets in one sale must share a currency - see run a sale on specific markets.

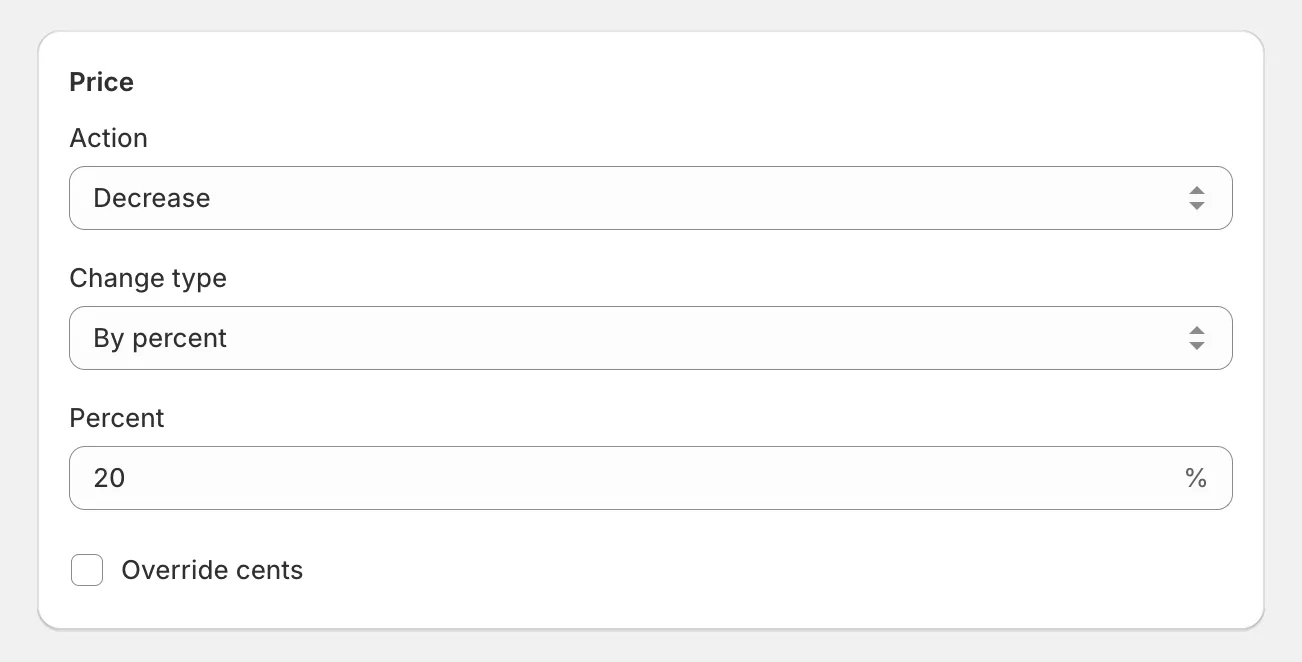
Configure the discount. Decrease the price by a percent or amount:
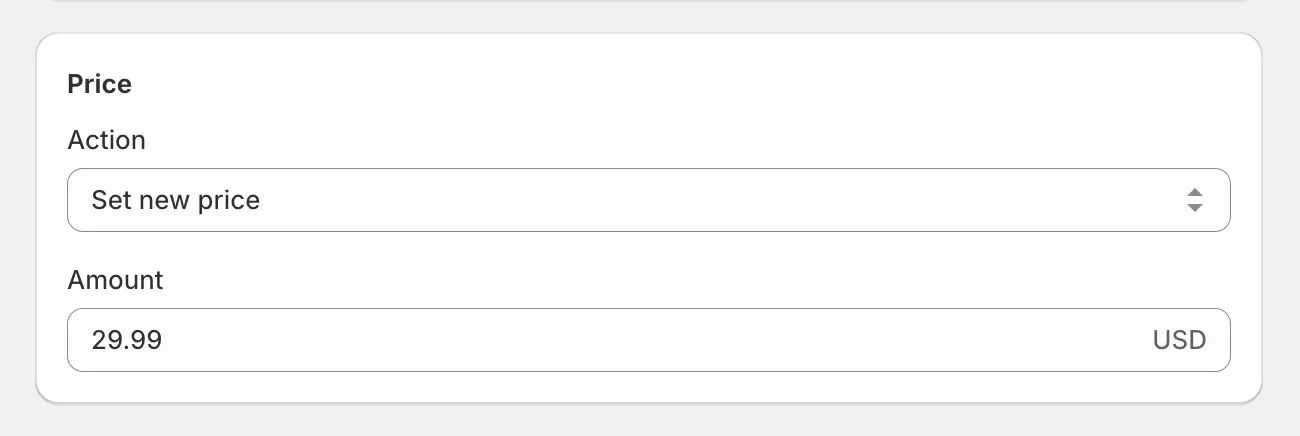
Or set one sale price for every selected variant:
Compare at price
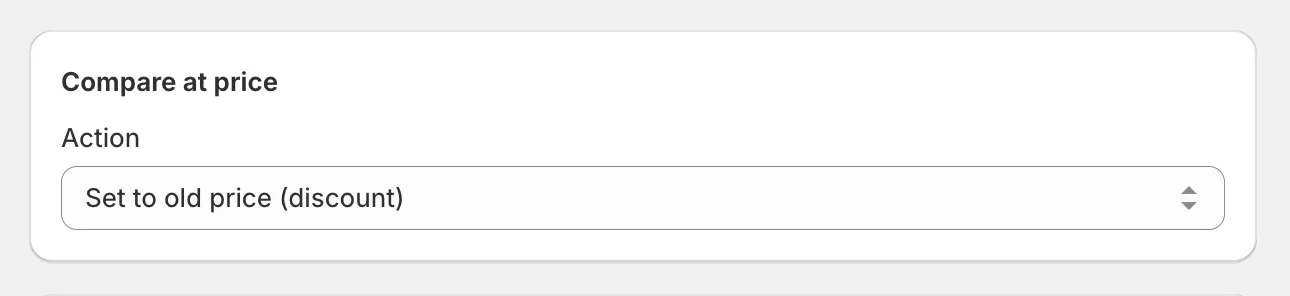
Section titled “Compare at price”Compare at price is the Shopify field that shows the crossed-out original price next to the discount. Recommended: select Set to old price (discount) so each product’s compare at price becomes its pre-sale price and the discount shows on your storefront.
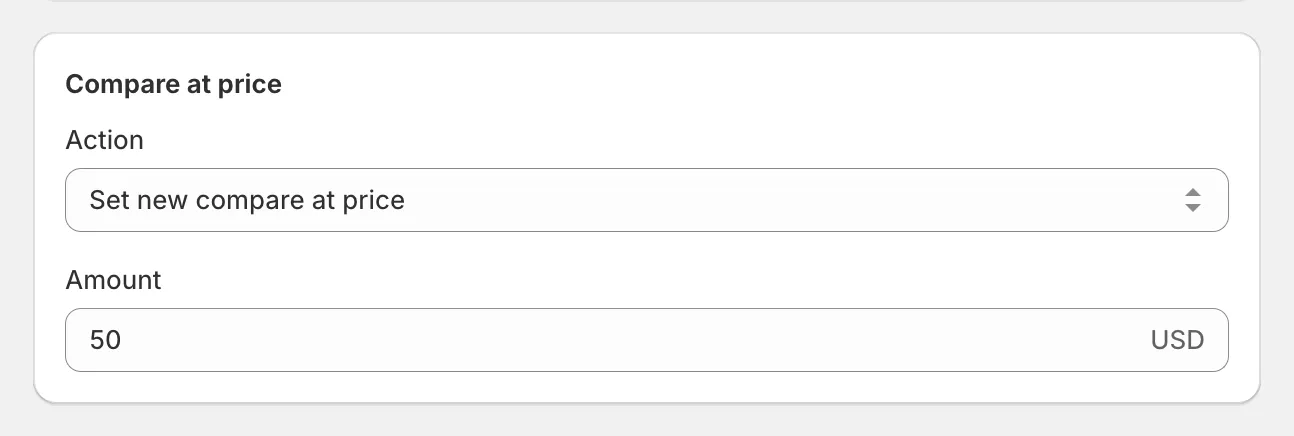
You can also set a specific compare at price value. Make sure it’s higher than the sale price, or Shopify won’t display a discount.
Apply to
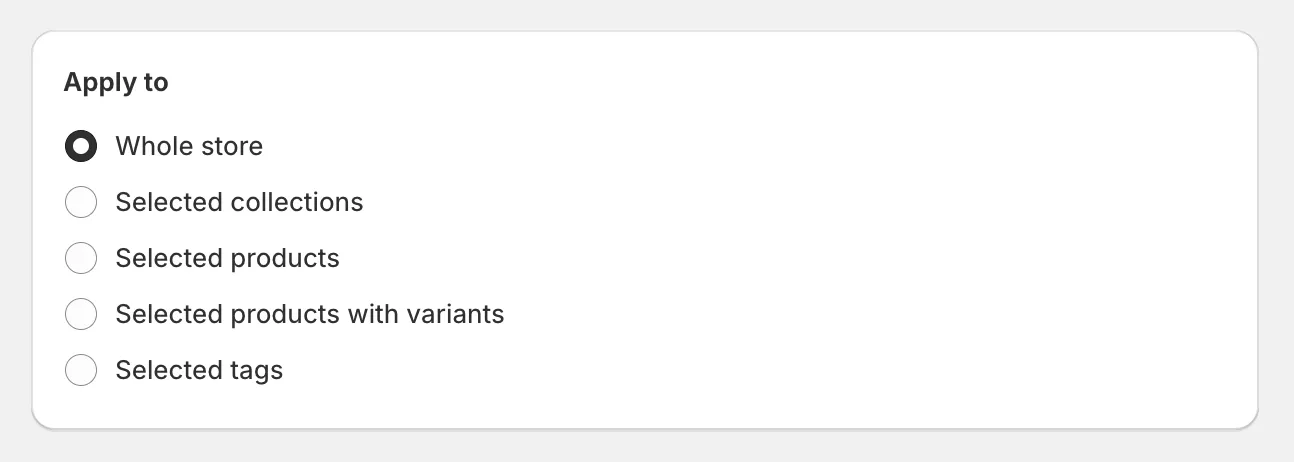
Section titled “Apply to”Select the whole store, collections (up to 100), products (up to 100), specific variants, or tags.
Whole store covers active products only. To include draft products, change Apply price changes to on the app’s Settings page.
Exclude
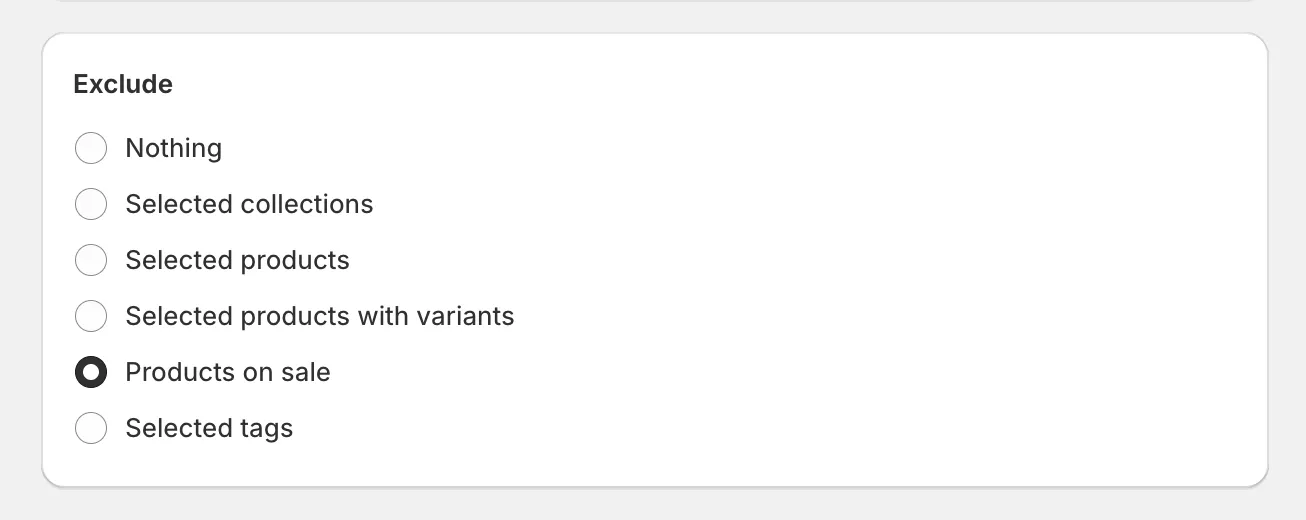
Section titled “Exclude”Skip products that shouldn’t be discounted. To avoid stacking discounts, select Products on sale or Product variants on sale - see exclude discounted products.
Schedule
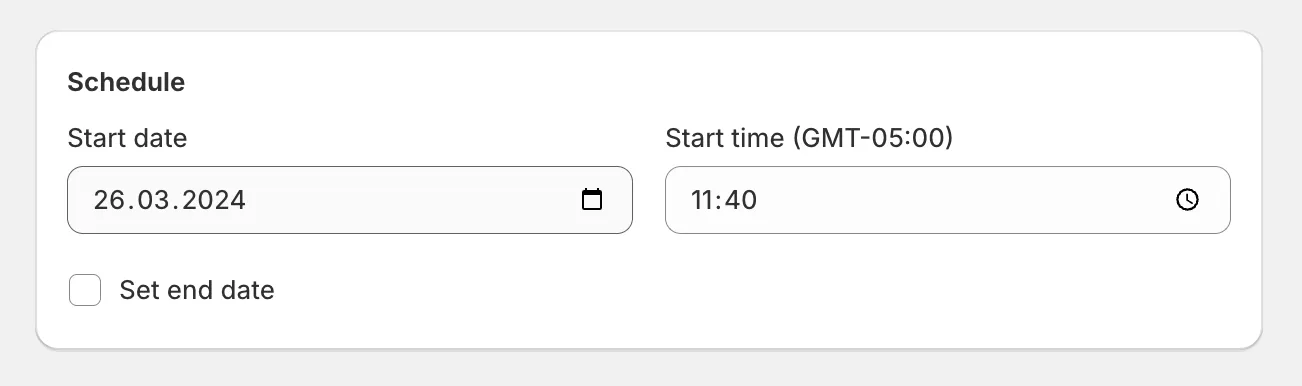
Section titled “Schedule”Start and end times use your store’s timezone, set in Shopify under Settings > General. Set the start date and time - or leave them unchanged to start the sale right after creation:
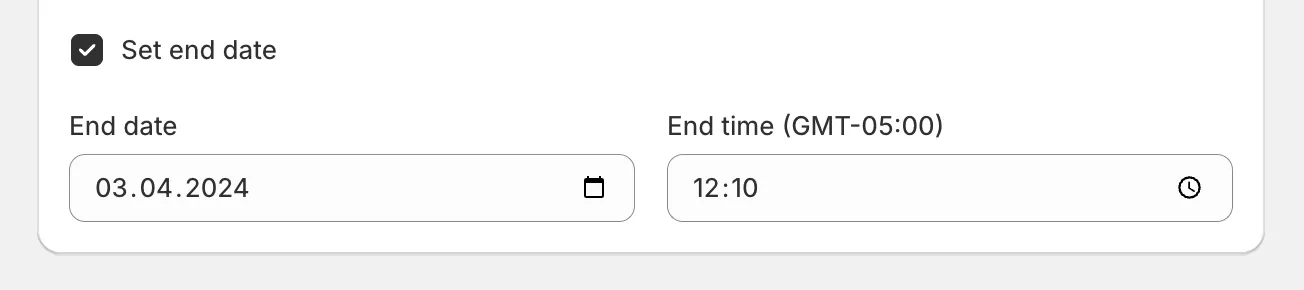
The end date and time are optional. Without them, the sale runs until you disable it:
Scheduling requires the Basic plan or higher.
While the sale is active
Section titled “While the sale is active”Once a sale starts, you can only edit its end date and time - see edit a sale. The app tracks every price change, and canceling or disabling the sale restores original prices.
Next steps
Section titled “Next steps”- Run multiple sales at the same time
- Add products to a running sale
- Block discount codes during a sale
- Manage sales - cancel, disable, duplicate, delete.